Googleアカウントを二つ持っているので、一つは普通にGNOMEオンラインでGoogleアカウントを追加すればFiles(Nautilus)でマウントされるのだけど、もう一つは Rcloneでマウントすることとする。
よく紹介されているのは、独自のClient IDを作らずにrclone標準の設定を使う方法なのだけど、それだとrcloneで共有されているAPIトークンの制限を超過したときにエラー(403 User Rate Limit Exceeded)となってしまうので、
Google Auth PlatformでOAuth認証のclient_idとclient_secretを作成する1。
OAuthクライアントID作成
-
初回ならプロジェクトを作成する
-
APIとサービス
- Google Drive API
使うサービスのAPIを有効化する。
-
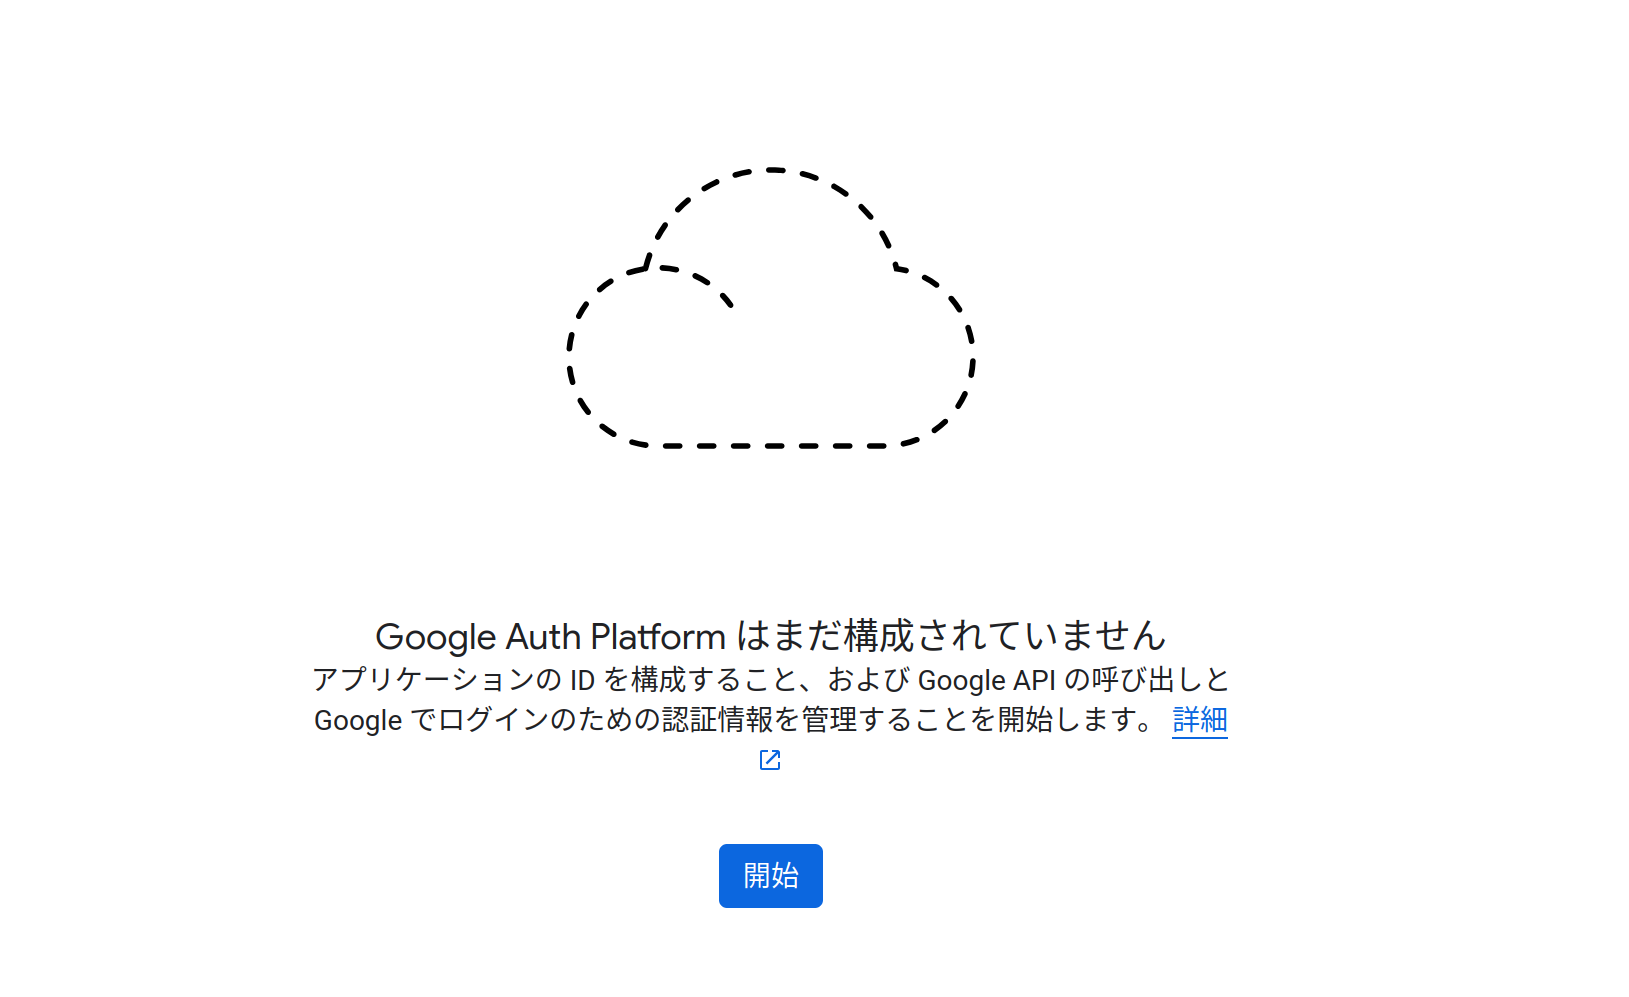
Google Auth Platform構成を開始する

-
概要
-
アプリ情報
- アプリ名。任意。
- ユーザーザポートメール。自分自身のメールアドレス
-
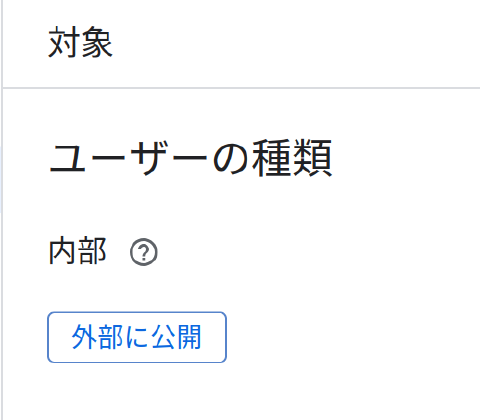
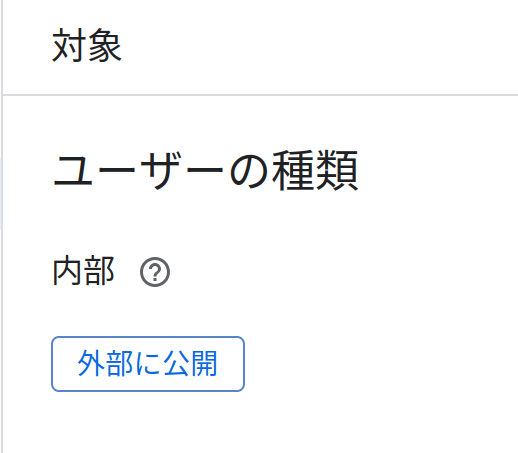
対象
- workspaceユーザでない場合は外部。workspaceユーザーの場合は内部。
-
連絡先情報
- 自分自身のメールアドレス。
-
-
対象
-
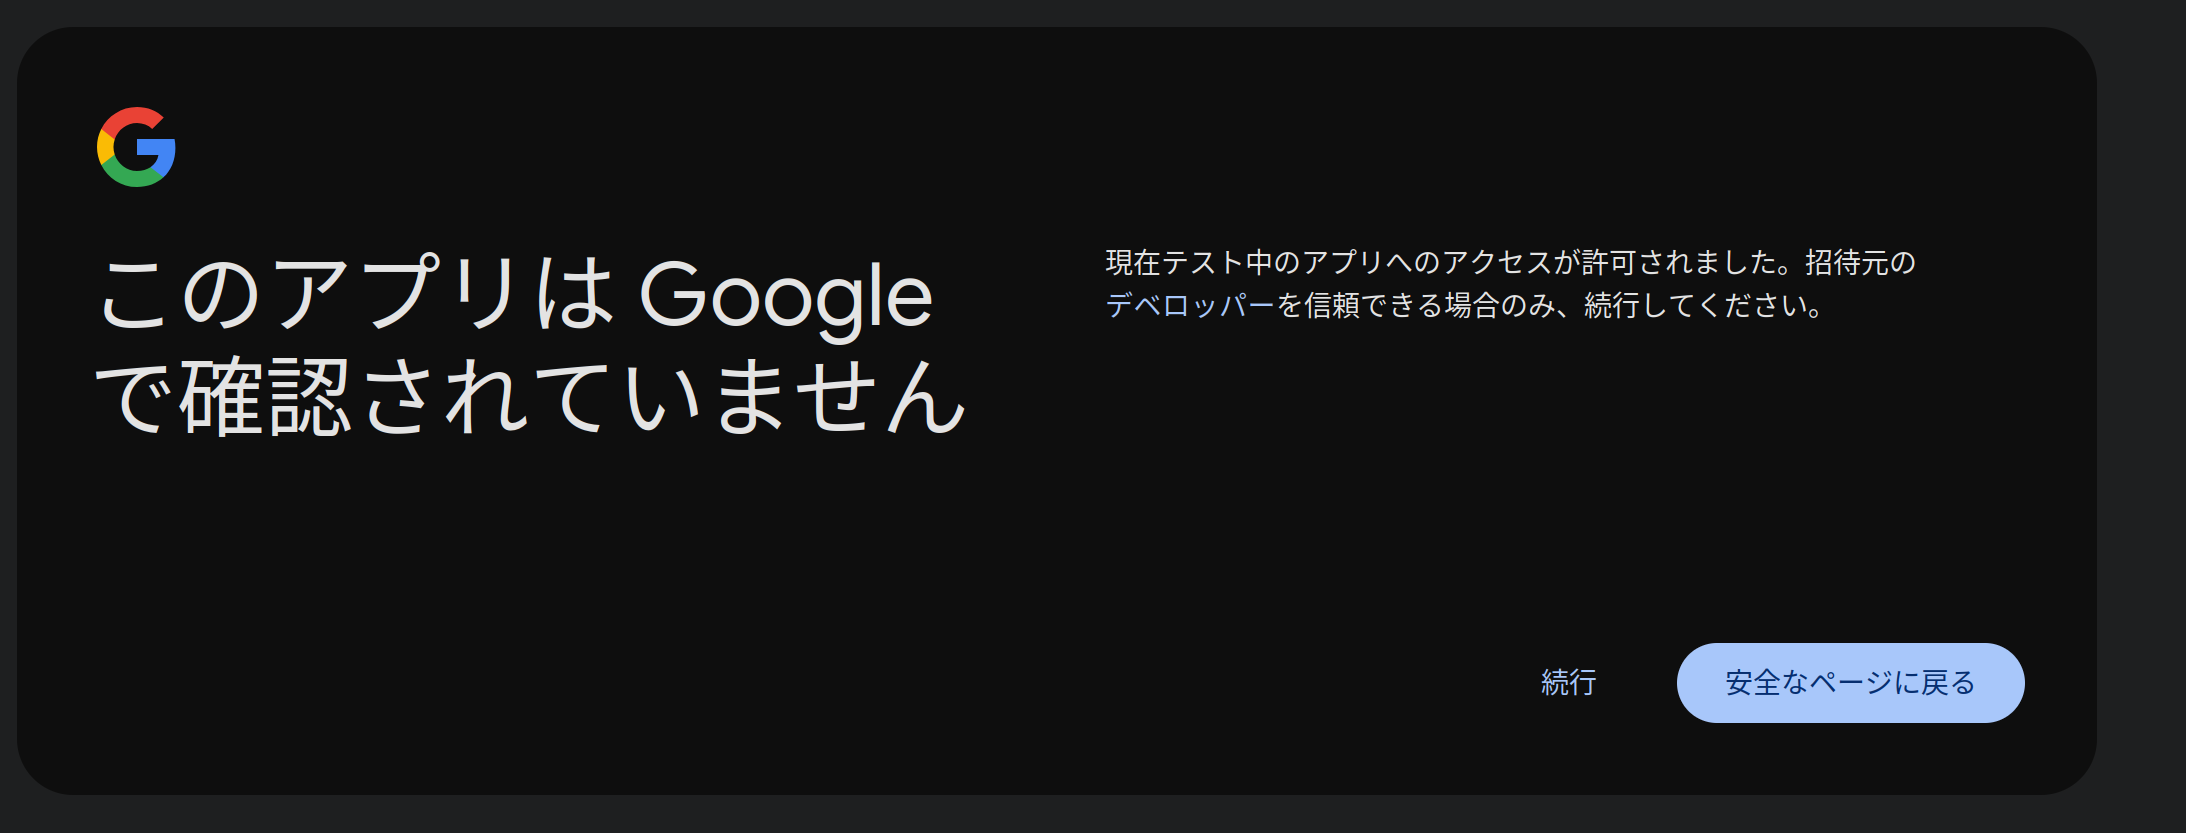
外部にすると、公開ステータスは テスト中 となる。 公開 にするにはアプリの操作方法のビデオ提出などハードルが上がる。
-
テストユーザとして同期するGoogleユーザ(自分自身)を追加する。
-
-
クライアント
- 種類は デスクトップ
- クライアントID、クライアンシークレットを保存する
-
データアクセス
- スコープを追加する。
.../auth/driveGoogle ドライブのすべてのファイルの参照、編集、作成、削除
とこれでrcloneでOAuthトークンを使う準備が整ったので設定していく。
rclone設定
rclone configを入力して、rclone設定を開始する。
-
nを選択してリモートを作成Current remotes: Name Type ==== ==== e) Edit existing remote n) New remote d) Delete remote r) Rename remote c) Copy remote s) Set configuration password q) Quit config e/n/d/r/c/s/q> n -
リモート名を入力
Enter name for new remote. name> google_drive -
ストレージタイプを選択する。ここではGoogle Driveなので
driveを入力する。Option Storage. Type of storage to configure. Choose a number from below, or type in your own value. ・・・省略・・・ 19 / Google Drive \ (drive) ・・・省略・・・ Storage> drive -
クライアントIDを入力する。
Option client_id. Google Application Client Id Setting your own is recommended. See https://rclone.org/drive/#making-your-own-client-id for how to create your own. If you leave this blank, it will use an internal key which is low performance. Enter a value. Press Enter to leave empty. client_id> *********************************************.apps.googleusercontent.com -
クライアントシークレットを入力する。
Option client_secret. OAuth Client Secret. Leave blank normally. Enter a value. Press Enter to leave empty. client_secret> *********************************** -
アクセススコープを選択する。フルアクセスなので、空値のまま
Enterか1。Option scope. Comma separated list of scopes that rclone should use when requesting access from drive. Choose a number from below, or type in your own value. Press Enter to leave empty. 1 / Full access all files, excluding Application Data Folder. \ (drive) 2 / Read-only access to file metadata and file contents. \ (drive.readonly) / Access to files created by rclone only. 3 | These are visible in the drive website. | File authorization is revoked when the user deauthorizes the app. \ (drive.file) / Allows read and write access to the Application Data folder. 4 | This is not visible in the drive website. \ (drive.appfolder) / Allows read-only access to file metadata but 5 | does not allow any access to read or download file content. \ (drive.metadata.readonly) scope> 1 -
アクセストークンなどの保存場所を指定する。デフォルトで良いので空値のまま
Enter。デフォルト場所は~/.config/rclone/rclone.conf。アクセストークン、リフレッシュトークンの値まで平文で保存されるので最低でも 600 として他ユーザから見れないようにする。何もしないで 600 のはずだが、確認はしておく。
-rw------- 1 arimasou16 arimasou16 1906 1月 25 11:50 /home/arimasou16/.config/rclone/rclone.confOption service_account_file. Service Account Credentials JSON file path. Leave blank normally. Needed only if you want use SA instead of interactive login. Leading `~` will be expanded in the file name as will environment variables such as `${RCLONE_CONFIG_DIR}`. Enter a value. Press Enter to leave empty. service_account_file> -
アドバンスな設定(具体的な設定内容は不明)はしないでの
yか空値のままEnter。Edit advanced config? y) Yes n) No (default) y/n> -
認証コードを取得する。
ローカルで
http://127.0.0.1:53682/auth?state=**********************にアクセスして処理を進める場合はyを。リモート操作したりしていて、認証コード取得する端末をブラウザが利用可能な端末に変更する場合はnを入力する。-
ローカルで実行した場合
y(デフォルト)Use web browser to automatically authenticate rclone with remote? * Say Y if the machine running rclone has a web browser you can use * Say N if running rclone on a (remote) machine without web browser access If not sure try Y. If Y failed, try N. y) Yes (default) n) No y/n>前はFirefoxでも認証できた気がするが、出来なくなっている。なので、端末でなくブラウザを変更する場合は転送後のURLでなく
http://127.0.0.1:53682/auth?state=**********************といったリダイレクトURLをGoogle Chromeで開いて処理を進める。OAuthのアプリ名の確認や権限スコープの確認が表示されない場合、アクセスURLが間違っている可能性がある。
続行を選択する 2026/01/25 11:07:58 NOTICE: Make sure your Redirect URL is set to "http://127.0.0.1:53682/" in your custom config. 2026/01/25 11:14:22 NOTICE: If your browser doesn't open automatically go to the following link: http://127.0.0.1:53682/auth?state=********************** 2026/01/25 11:14:22 NOTICE: Log in and authorize rclone for access 2026/01/25 11:14:22 NOTICE: Waiting for code... 2026/01/25 11:23:30 NOTICE: Got code成功すればSuccessという文字が表示される。
-
リモートで実行する場合
n以下のようにリモートでの設定方法のページ、実行すべきコマンドが表示されて、コード入力待ちの状態となる。
y/n> n Option config_token. For this to work, you will need rclone available on a machine that has a web browser available. For more help and alternate methods see: https://rclone.org/remote_setup/ Execute the following on the machine with the web browser (same rclone version recommended): " rclone authorize "drive" "*******************************************************************************************************************************************************************************************************************" Then paste the result. Enter a value.rcloneがインストールされたブラウザが利用可能な端末で、表示されたrclone authorize "drive" "JSONデータをBase64という形式でエンコードした文字列"を実行して、認証する。[arimasou16@pop-os:~]$ rclone authorize "drive" "JSONデータをBase64という形式でエンコードした文字列" 2026/01/25 12:09:48 NOTICE: Make sure your Redirect URL is set to "http://127.0.0.1:53682/" in your custom config. 2026/01/25 12:09:48 NOTICE: If your browser doesn't open automatically go to the following link: http://127.0.0.1:53682/auth?state=********************** 2026/01/25 12:09:48 NOTICE: Log in and authorize rclone for access 2026/01/25 12:09:48 NOTICE: Waiting for code... 2026/01/25 12:10:24 NOTICE: Got code Paste the following into your remote machine ---> ******************************************************************************************************************************************************************************************************************************************************************************************************************************************************************************************************************************************************************************************************************************************************************************************************************************************************************************* <---End pasteすると実行した端末でコード表示される。
Paste the following into your remote machine --->から<---End pasteの間のコードをコピーして、リモート接続しているコード入力待ちの端末に貼り付ける。
-
-
workspaceアカウントだと共有ドライブというのがあるので、その共有ドライブも操作するかどうか、しないので
nか空値のままEnterする。Configure this as a Shared Drive (Team Drive)? y) Yes n) No (default) y/n>
workspaceアカウントだと共有ドライブというのがある -
以上で設定が完了して、ずらっと設定内容が表示される。問題なく修正の必要がなければ、
yか空値のままEnterする。Configuration complete. Options: - type: drive - client_id: *********************************************.apps.googleusercontent.com - client_secret: *********************************** - scope: drive - token: {"access_token":"*************************************************************************************************************************************************************************************************************************************************************","token_type":"Bearer","refresh_token":"1//****************************************************************************************************","expiry":"2026-01-25T12:23:29.597259739+09:00"} - team_drive: Keep this "google_drive" remote? y) Yes this is OK (default) e) Edit this remote d) Delete this remote y/e/d> -
現在のリモートが表示される。設定を完了したいので
qを入力する。Current remotes: Name Type ==== ==== google_drive drive e) Edit existing remote n) New remote d) Delete remote r) Rename remote c) Copy remote s) Set configuration password q) Quit config e/n/d/r/c/s/q> q
設定ファイルの暗号化
ユーザしか読めない状態とはいえ、トークン値を平文で設定ファイルに保存しておくのも、少し躊躇いがある。なので、パスワードの設定して暗号化する。
-
rclone configのコマンドを実行して、パスワードを設定するので、メインメニューでsを入力する。Current remotes: Name Type ==== ==== google_drive drive e) Edit existing remote n) New remote d) Delete remote r) Rename remote c) Copy remote s) Set configuration password q) Quit config e/n/d/r/c/s/q> s -
パスワードを設定するので
aを入力する。Your configuration is not encrypted. If you add a password, you will protect your login information to cloud services. a) Add Password q) Quit to main menu a/q> a -
パスワードを入力する。
Enter NEW configuration password: password: Confirm NEW configuration password: password: Password set Your configuration is encrypted. -
このまま終了するので
qを入力する。パスワードを解除する場合はu。変更する場合はcを入力する。c) Change Password u) Unencrypt configuration q) Quit to main menu c/u/q> q -
暗号化されていることを確認する。
[arimasou16@pop-os:~]$ cat  ~/.config/rclone/rclone.conf
# Encrypted rclone configuration File

RCLONE_ENCRYPT_V0:
DMope+Nnt/UUC以下、略==%
自動マウント
自動起動となると~/.config/autostart/直下にデスクトップファイルを置いてマウントコマンドを実行する方法もあると思うが、gemini曰く
Systemdの方が以下の点で勝っているらしい。
-
ネットワーク接続の確実性
After=network-online.targetと書くだけで、OSがネットワーク接続を確認するまで待機 -
バックグラウンド動作と安定性
Restart=alwaysを設定しておけば、自動で再起動。 -
ログイン不要で動作可能
PC電源を入れた段階でバックグラウンドでマウントを開始できる(サーバー用途)。
とのこと。Nextcloud、Seafileなどが自動起動するアプケーションで行なっているのは、以下の理由による。
- トレイアイコン常駐、ポップアップ通知があるので、グラフィックセッションが立ち上がってる必要がある。
- ログインパスワード、トークンはOSのパスワード管理(kerring)などに暗号化されて保存されているので、ログインを必要とする。
- 常駐プログラムとして、ネット未接続やエラー終了時、プロセスが終了せず再試行を待つように設定されている。
- クロスプラットフォーム対応なのでログインして起動する仕組みで統一する必要がある。
rclone mountで通知が出てパスワードを入力するような仕組みを備えているなら、デスクトップ起動にしても良かったかも知れないが、やりかたを知らない。
暗号化していると、そのままだと対話でパスワードを聞かれて自動実行できない。そこで、環境変数に設定して実行2すれば対話なしでパスワードから復号してrcloneコマンドを実行できるので、パスワードをSystemdユニットファイルに追記する形にする。
パスワードをファイルに書くため、ディスク上に平文で保存される点は同じかもしれない。しかし、設定ファイルはバックアップや設定ファイルマネジャーの操作ミスで rclone.conf を、意図せずGithubなどに公開してしまう心配はなくなる。
ということで、以下のようにSystemdユニットファイルを作成する。
~/.config/systemd/user/rclone-mount.service
[Unit]
Description=Rclone Mount for GoogleDrive
AssertPathIsDirectory=%h/GoogleDrive
After=network-online.target

[Service]
Type=notify
Environment="RCLONE_CONFIG_PASS=rclone config パスワード"
ExecStart=/usr/bin/rclone mount \
    --config=%h/.config/rclone/rclone.conf \
    --vfs-cache-mode writes \
    google_drive:/ %h/GoogleDrive
ExecStop=/bin/fusermount -u %h/GoogleDrive
Restart=on-failure
RestartSec=10

[Install]
WantedBy=default.target
そして、作成したSystemdユニットファイルを 600 に権限を変更しておく。
systemctl --user daemon-reload # Systemdユニットファイルの読み込み
systemctl --user start rclone-mount.service # 起動実行・確認
systemctl --user enable rclone-mount.service # 問題なければ自動起動の有効化
systemctl --user status rclone-mount.service # ステータスを確認
ログインするだけで自動マウントされるようになった。そして、ログアウトやシャットダウンの際は、SystemdがExecStopに設定したfusermountコマンド3を自動実行し、安全にアンマウントしてくれる。
以上。
-
GoogleのOAuth 2.0 クライアント IDを作成するにも記載したが、改めて記載する。 ↩︎
-
RCLONE_CONFIG_PASS=config_password rclone mountといった形など。 ↩︎ -
rcloneによるfuse使ったネットワーク越しのマウントは、ユーザーがパスワードなしで解除できるfusermountでアンマウントする方が良い。FUSEシステムに終了処理を依頼することで、マウントを解除すると同時にrcloneプロセスも終了することができる。また、fusermount -u -zと-z遅延オプションを付けることで応答なしでアンマントできる。 ↩︎