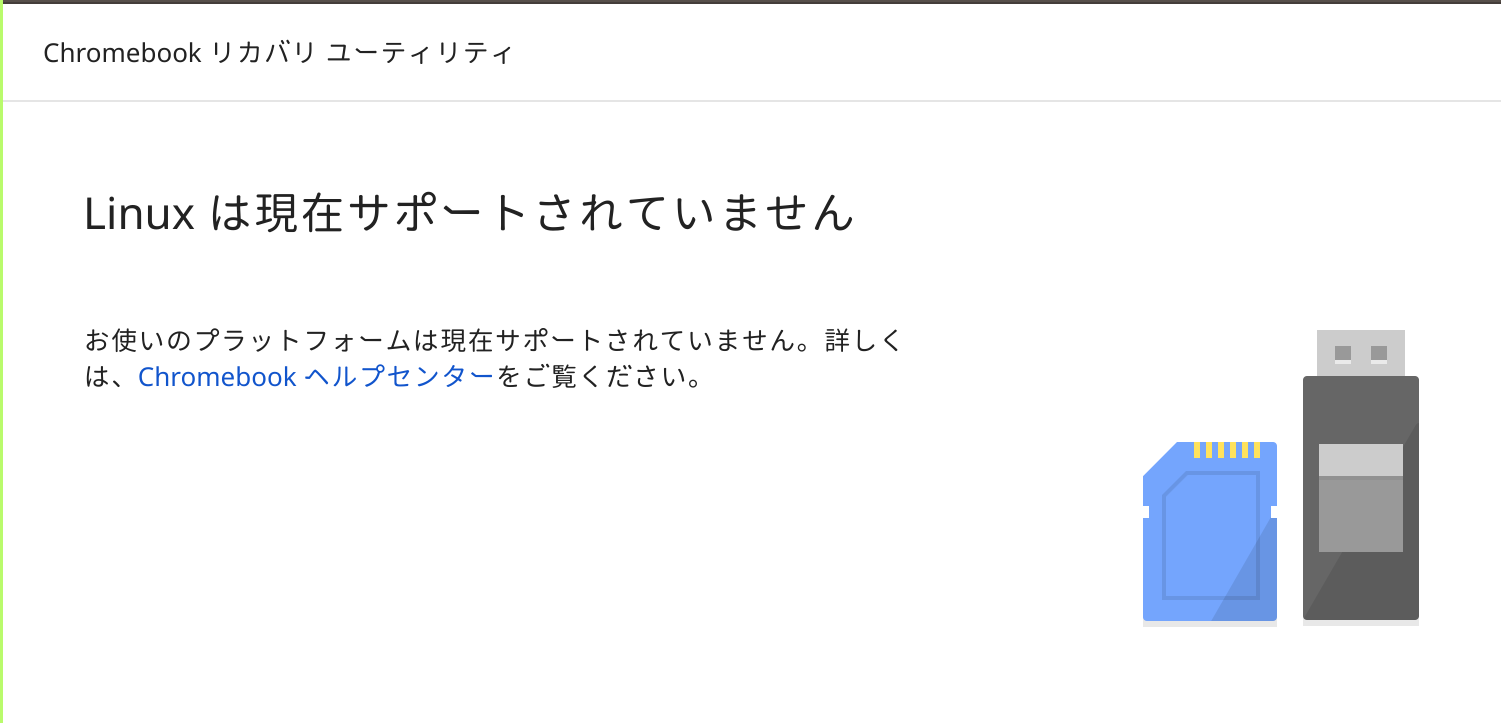
Chromebookのリカバリメディアを作成する拡張機能 Chromebook リカバリ ユーティリティは、Linuxは現在サポートされていない。
しかし、リカバリメディア作成用のシェルが用意されているので、それを使う。
How to use a Linux computer to recover your Chromebookに書いてあるまんまだが、
リカバリメディア作成シェル取得・実行
$ wget https://dl.google.com/dl/edgedl/chromeos/recovery/linux_recovery.sh
$ chmod +x linux_recovery.sh
$ sudo ./linux_recovery.sh
でOK。
unmounting...
copying... (this may take several minutes)
dd: '/dev/sdd' を開けませんでした: 許可がありません

ERROR: Unable to write the image.

You may need to run this program as a different user. If that doesn't help, try
using a different computer, or ask a knowledgeable friend for help.
実行時はsudoを付けないと、上記のようにエラーとなる。
シェル実行以降の手順
シェル実行以降の手順は以下のとおり。type some or all of it; otherwise just press Enter: Bobでは
Developer Information for Chrome OS Devicesにある Code name を入力したら、検索する機種に一致するはず。
-
コード名を入力 (例:
Bob) -
該当機種のダウンロードイメージを選択する (例:
9) -
リカバリメディアを選択する (例:
1)例では
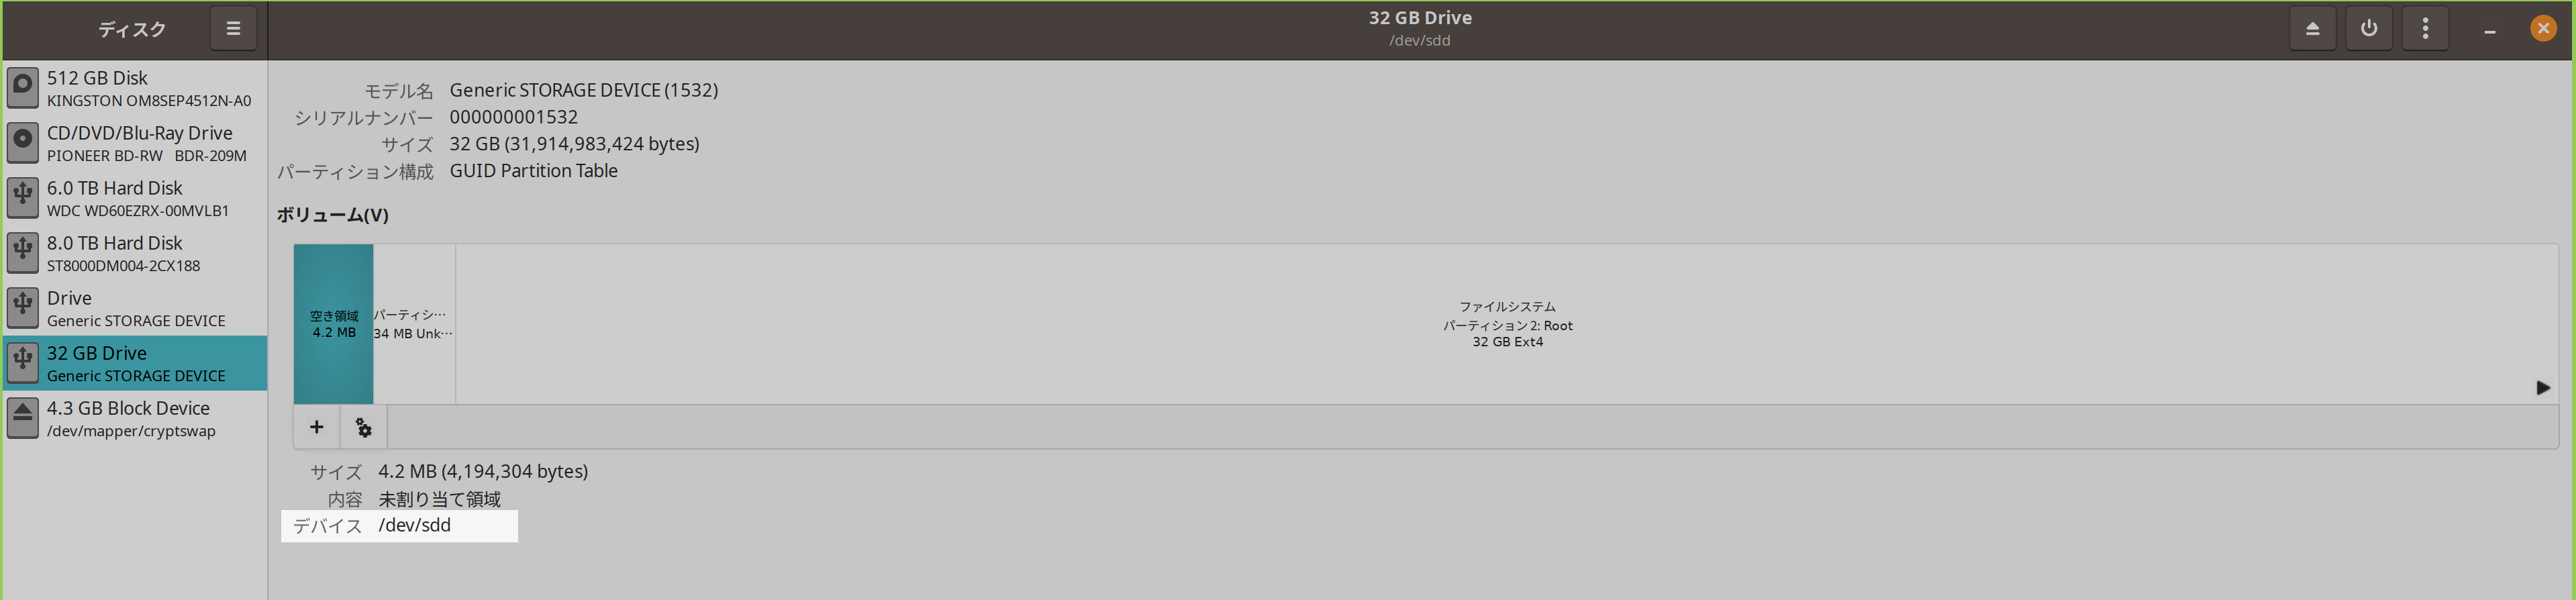
/dev/sddとなっているが環境に依るのでよく見て確認する。実行前にディスク(gnome-disk-utility)などのGUIでデバイスを確認することを推奨
デバイスを見てデバイスパスを確認 -
大文字で
YESと入力する (実行はYES、中止はそれ以外) -
大文字小文字を合わせて
DoItと入力する (実行継続はDoIt、中止はそれ以外) -
作成のための一時ファイルを削除するか選択する (削除は
y、しない場合はn)
$ ./linux_recovery.sh

======================================================================
This tool is in maintenance mode.
Try the new Chromebook Recovery Utility on Chrome OS, Windows, or Mac.
For more information, visit http://www.google.com/chromeos/recovery.
======================================================================

Working in /tmp/tmp.crosrec/
Downloading config file from https://dl.google.com/dl/edgedl/chromeos/recovery/recovery.conf

If you know the Model string displayed at the recovery screen,
type some or all of it; otherwise just press Enter: ^Bob

This may take a few minutes to print the full list...

There are up to 499 recovery images to choose from:

0 - <quit>
9 - ASUS Chromebook Flip C101PA
  channel:  STABLE
  pattern:   ^BOB .*

Please select a recovery image to download: 9
・・・中略・・・
I found 1 USB drive.  We need one with at least 2223MB capacity.

0 - <quit>

1 - Use /dev/sdd 31499MB Generic  STORAGE DEVICE


Tell me what to do (or just press Enter to scan again): 1

Is this the device you want to put the recovery image on?

  /dev/sdd 31499MB Generic  STORAGE DEVICE

You must enter 'YES' (all uppercase) to continue: YES


I'm really going to erase this device. This will permanently ERASE
whatever you may have on that drive. You won't be able to undo it.

  /dev/sdd 31499MB Generic  STORAGE DEVICE

If you're sure that's correct, enter 'DoIt' now (case is important): DoIt


Installing the recovery image


unmounting...
copying... (this may take several minutes)
555+1 レコード入力
556+0 レコード出力
2332033024 bytes (2.3 GB, 2.2 GiB) copied, 474.183 s, 4.9 MB/s


Done. Remove the USB drive and insert it in your Chrome notebook.


Shall I remove the temporary files now? [y/n] y
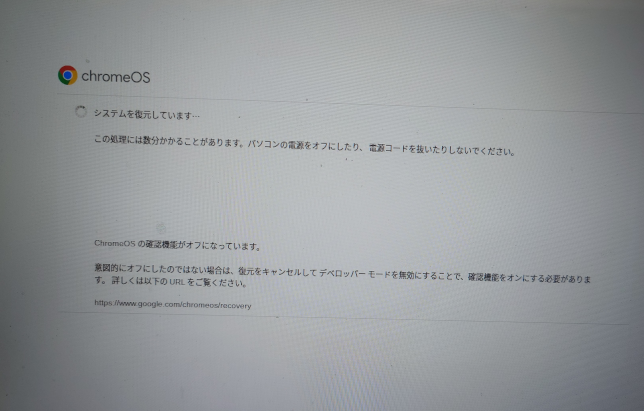
リカバリメディアからのChromebookのリカバリ
HP Chromebook - Chromebookのリカバリメディアの作成方法および使用方法 | HP® サポート
リカバリメディアからリカバリする方法: からの手順が参考になる
- USB/SDカードをPCに挿入し、PCをシャットダウンします。
- ESC+更新ボタン「F3相当」を押しながら、電源ボタンを押す。
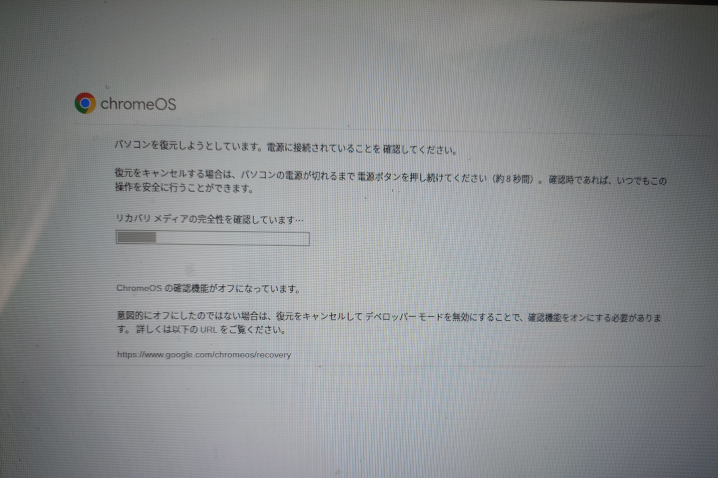
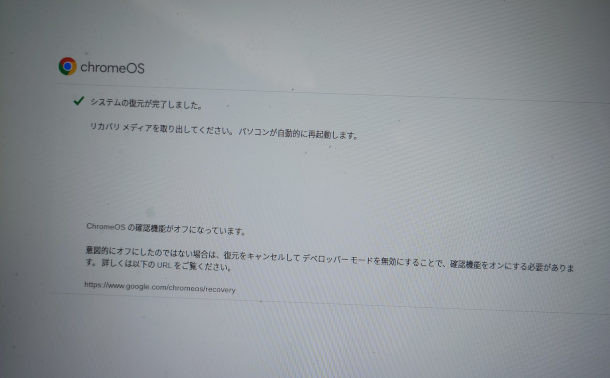
Chromebookを回復できる。