CUIで動作するメールクライアント Himalaya をインストールして、GmailをOAuth2で接続するまでに、なかなか一筋縄ではいかなかったのでまとめておく。
まとめると、エラーの対応順序は以下のとおり。
--features oauth2を付けてビルド → Cargo古すぎエラーrustup update stableでRust更新--lockedオプションを付けてビルド → 依存ライブラリの型不一致を回避--features "imap,smtp,oauth2,keyring"に変更して再ビルドhimalaya account configureウィザードで設定ファイルを再生成+OAuth2認可フロー完了sudo apt install libsecret-toolsでキーリング操作ツールを導入- himalaya.vimでメール送信時は5行目から本文を書く
エラー1:missing oauth2 cargo feature
まず、既存のインストール済みバイナリを起動してみると、設定ファイルのパースに失敗した。
$ himalaya
Error:
   0: cannot parse config file at ~/.config/himalaya/config.toml
   1: TOML parse error at line 6, column 1
   1:   |
   1: 6 | backend.type = "imap"
   1:   | ^^^^^^^
   1: missing `oauth2` cargo feature
OAuthを使うには、oauth2 フィーチャーフラグを有効にしてビルドし直す必要があるとのこと。ということで、--no-default-features --features oauth2 を付けてインストールを試みる。
エラー2:Cargoのバージョンが古くて edition2024 に対応できない
error: failed to compile `himalaya v1.1.0`

Caused by:
  failed to parse manifest at `~/.cargo/registry/src/.../tree_magic_mini-3.2.2/Cargo.toml`

Caused by:
  feature `edition2024` is required

  The package requires the Cargo feature called `edition2024`, but that feature is not stabilized in this version of Cargo (1.82.0).
  Consider trying a newer version of Cargo (this may require the nightly release).
himalayaが依存しているパッケージ(tree_magic_mini)がRust 2024 Editionを必要としているのに、手元のCargo(1.82.0)が古くて対応できていないのが原因。rustup update stable でRustを最新版に更新する。
$ rustup update stable
・・・中略・・・
  stable-x86_64-unknown-linux-gnu updated - rustc 1.92.0 (ded5c06cf 2025-12-08) (from rustc 1.91.1)
エラー3:型の不一致エラー(E0271, E0308)
Rustを更新してから再度インストールを試みると、今度は別のエラーが出た。
Some errors have detailed explanations: E0271, E0308.
error: could not compile `pimalaya-tui` (lib) due to 3 previous errors
error: failed to compile `himalaya v1.1.0`
pimalaya-tui など依存ライブラリが最新版になりすぎて、himalaya v1.1.0 のコードと型の互換性が取れなくなっているのが原因。
解決策は --locked オプションを付けること。これにより、himalaya の開発者が動作を保証した Cargo.lock 記録のバージョンを強制的に使ってビルドできる。
$ cargo install himalaya --locked --no-default-features --features oauth2
・・・中略・・・
   Compiling himalaya v1.1.0
    Finished `release` profile [optimized] target(s) in 1m 56s
  Installing ~/.cargo/bin/himalaya
   Installed package `himalaya v1.1.0` (executable `himalaya`)
ビルド成功。ただし chumsky v1.0.0-alpha.7 が将来のRustバージョンで弾かれる可能性があるという警告が出た。
エラー4:missing imap cargo feature
インストールできたので起動してみると、今度は別のフィーチャーが足りないと言われた。
$ himalaya
Error:
   0: cannot parse config file at ~/.config/himalaya/config.toml
   1: TOML parse error at line 6, column 1
   1:   |
   1: 6 | backend.type = "imap"
   1:   | ^^^^^^^
   1: missing `imap` cargo feature
oauth2 だけでなく imap、smtp、keyring も必要だった。まとめて指定して再インストール。
$ cargo install himalaya --locked --features "imap,smtp,oauth2,keyring"
・・・中略・・・
   Compiling himalaya v1.1.0
    Finished `release` profile [optimized] target(s) in 2m 33s
    Replaced package `himalaya v1.1.0` with `himalaya v1.1.0` (executable `himalaya`)
エラー5:設定ファイルの method フィールドが不足
またしても設定ファイルのパースエラー。
$ himalaya
Error:
   0: cannot parse config file at ~/.config/himalaya/config.toml
   1: TOML parse error at line 6, column 1
   1:   |
   1: 6 | backend.type = "imap"
   1:   | ^^^^^^^
   1: missing field `method`
手書きの設定ファイルが古い形式だったため、himalaya account configure コマンドのウィザードで設定ファイルを作り直すことにした。
公式ページ見るとhimalaya configure -a gmailやhimalaya account configure gmailを打つように勘違いするが、実際はhimalaya account configure ************@gmail.comとコマンドを打つ。
$ himalaya account configure example@gmail.com

Configuring your account example@gmail.com

> Email address: example@gmail.com
> Should this account be the default one? Yes
> Account name: example@gmail.com
> Full display name: xxxxxxxx
> Downloads directory: ~/Downloads

Warning: Google passwords cannot be used directly, see:
https://github.com/pimalaya/himalaya?tab=readme-ov-file#configuration

> Default backend: IMAP
> IMAP hostname: imap.gmail.com
> IMAP encryption: SSL/TLS
> IMAP port: 993
> IMAP login: example@gmail.com
> Enable OAuth 2.0? Yes
> IMAP OAuth 2.0 mechanism: XOAUTH2
> IMAP OAuth 2.0 client id: ****.apps.googleusercontent.com
> IMAP OAuth 2.0 client secret: ********
> IMAP OAuth 2.0 redirect URL scheme: http
> IMAP OAuth 2.0 redirect URL hostname: localhost
> IMAP OAuth 2.0 redirect URL port: 49152
> IMAP OAuth 2.0 authorization URL: https://accounts.google.com/o/oauth2/auth
> IMAP OAuth 2.0 token URL: https://www.googleapis.com/oauth2/v3/token
> IMAP OAuth 2.0 main scope: https://mail.google.com/
> More IMAP OAuth 2.0 scopes? No
> Enable PKCE verification? Yes

To complete your OAuth 2.0 setup, click on the following link:

https://accounts.google.com/o/oauth2/auth?response_type=code&client_id=****.apps.googleusercontent.com&...

> Backend for sending messages: SMTP
> SMTP hostname: smtp.gmail.com
> SMTP encryption: SSL/TLS
> SMTP port: 465
> SMTP login: example@gmail.com
> Enable OAuth 2.0? Yes
> SMTP OAuth 2.0 mechanism: XOAUTH2
> SMTP OAuth 2.0 client id: ****.apps.googleusercontent.com
> SMTP OAuth 2.0 client secret: ********
> SMTP OAuth 2.0 redirect URL scheme: http
> SMTP OAuth 2.0 redirect URL hostname: localhost
> SMTP OAuth 2.0 redirect URL port: 49152
> SMTP OAuth 2.0 authorization URL: https://accounts.google.com/o/oauth2/auth
> SMTP OAuth 2.0 token URL: https://www.googleapis.com/oauth2/v3/token
> SMTP OAuth 2.0 main scope: https://mail.google.com/
> More SMTP OAuth 2.0 scopes? No
> Enable PKCE verification? Yes

To complete your OAuth 2.0 setup, click on the following link:

https://accounts.google.com/o/oauth2/auth?response_type=code&client_id=****.apps.googleusercontent.com&...

> Where to save the configuration? ~/.config/himalaya/config.toml
Writing configuration at ~/.config/himalaya/config.toml…
Done! Exiting the wizard…
ウィザードではメールアドレス、IMAPホスト(imap.gmail.com)、SMTPホスト(smtp.gmail.com)の指定に加えて、OAuth2の各種設定(クライアントID、クライアントシークレット、認可URL、トークンURL、スコープなど)を対話的に入力していく。途中でGoogleのOAuth2認可URLが表示されるのでブラウザでアクセスし、認可フローを経てアクセストークンを取得する。完了すると設定ファイルが生成される。
動作確認
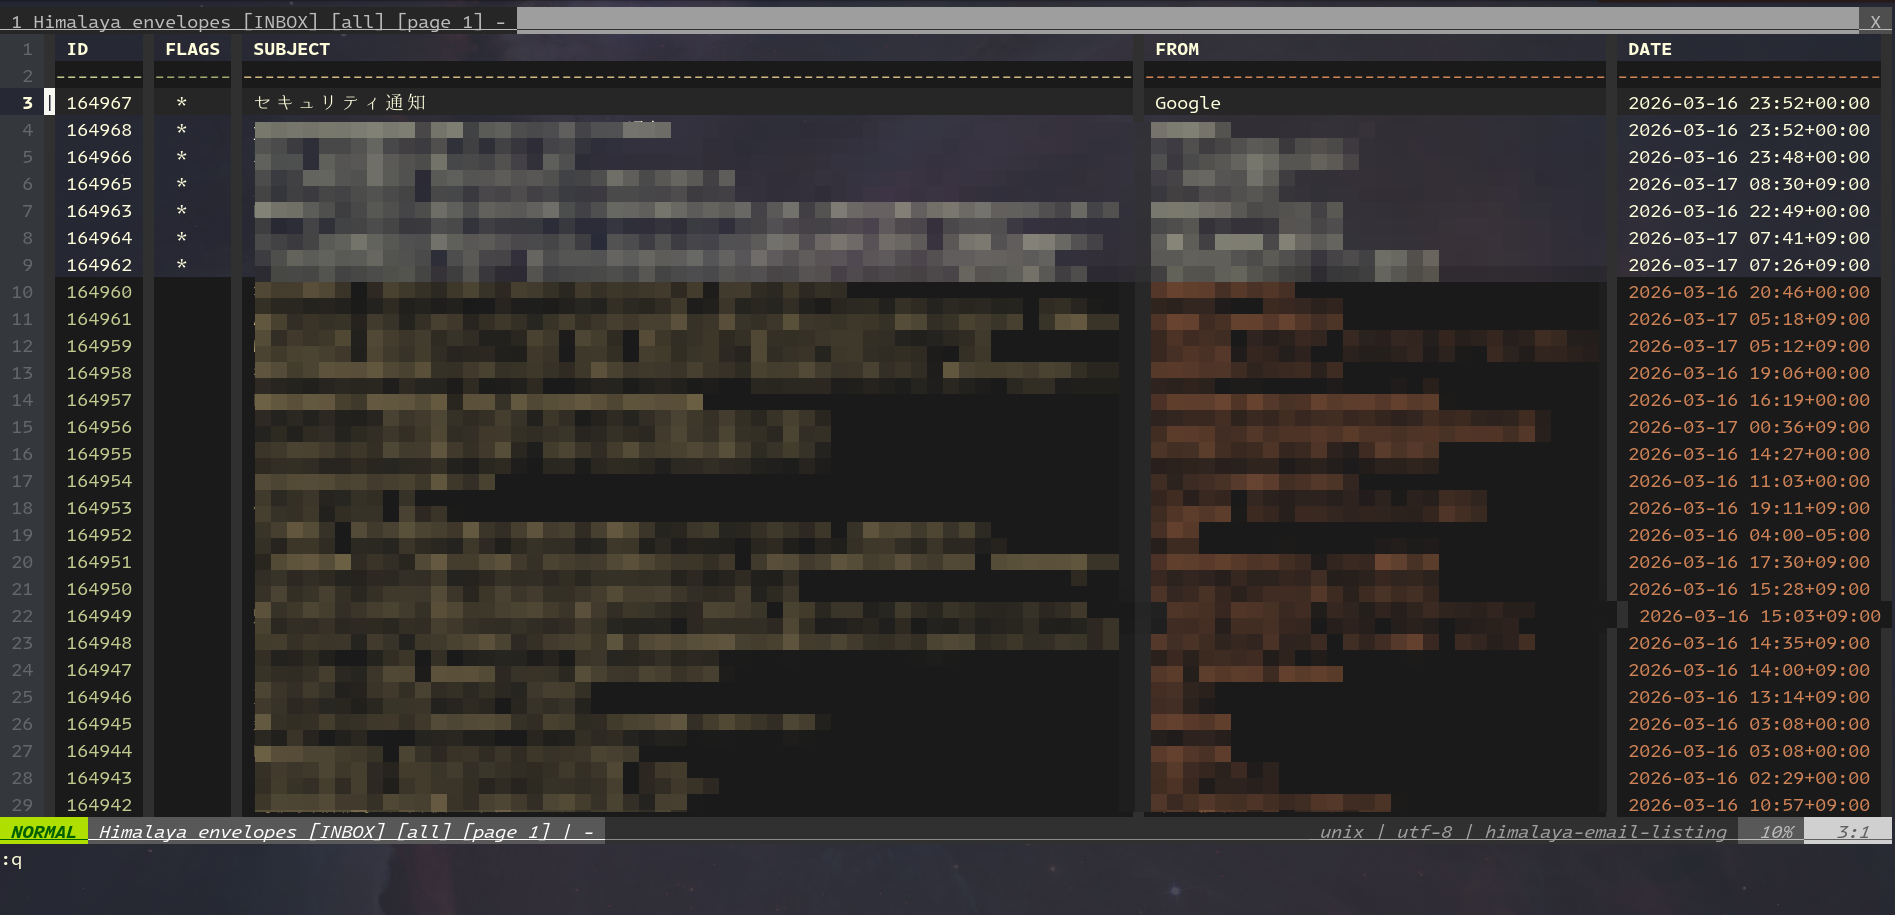
ウィザードを通じて設定が完了すると、無事にメール一覧が表示された。
$ himalaya
| ID     | FLAGS | SUBJECT     | FROM   | DATE                   |
|--------|-------|-------------|--------|------------------------|
| 162334 |  *    | ...         | Google | 2026-01-03 00:02+00:00 |
...
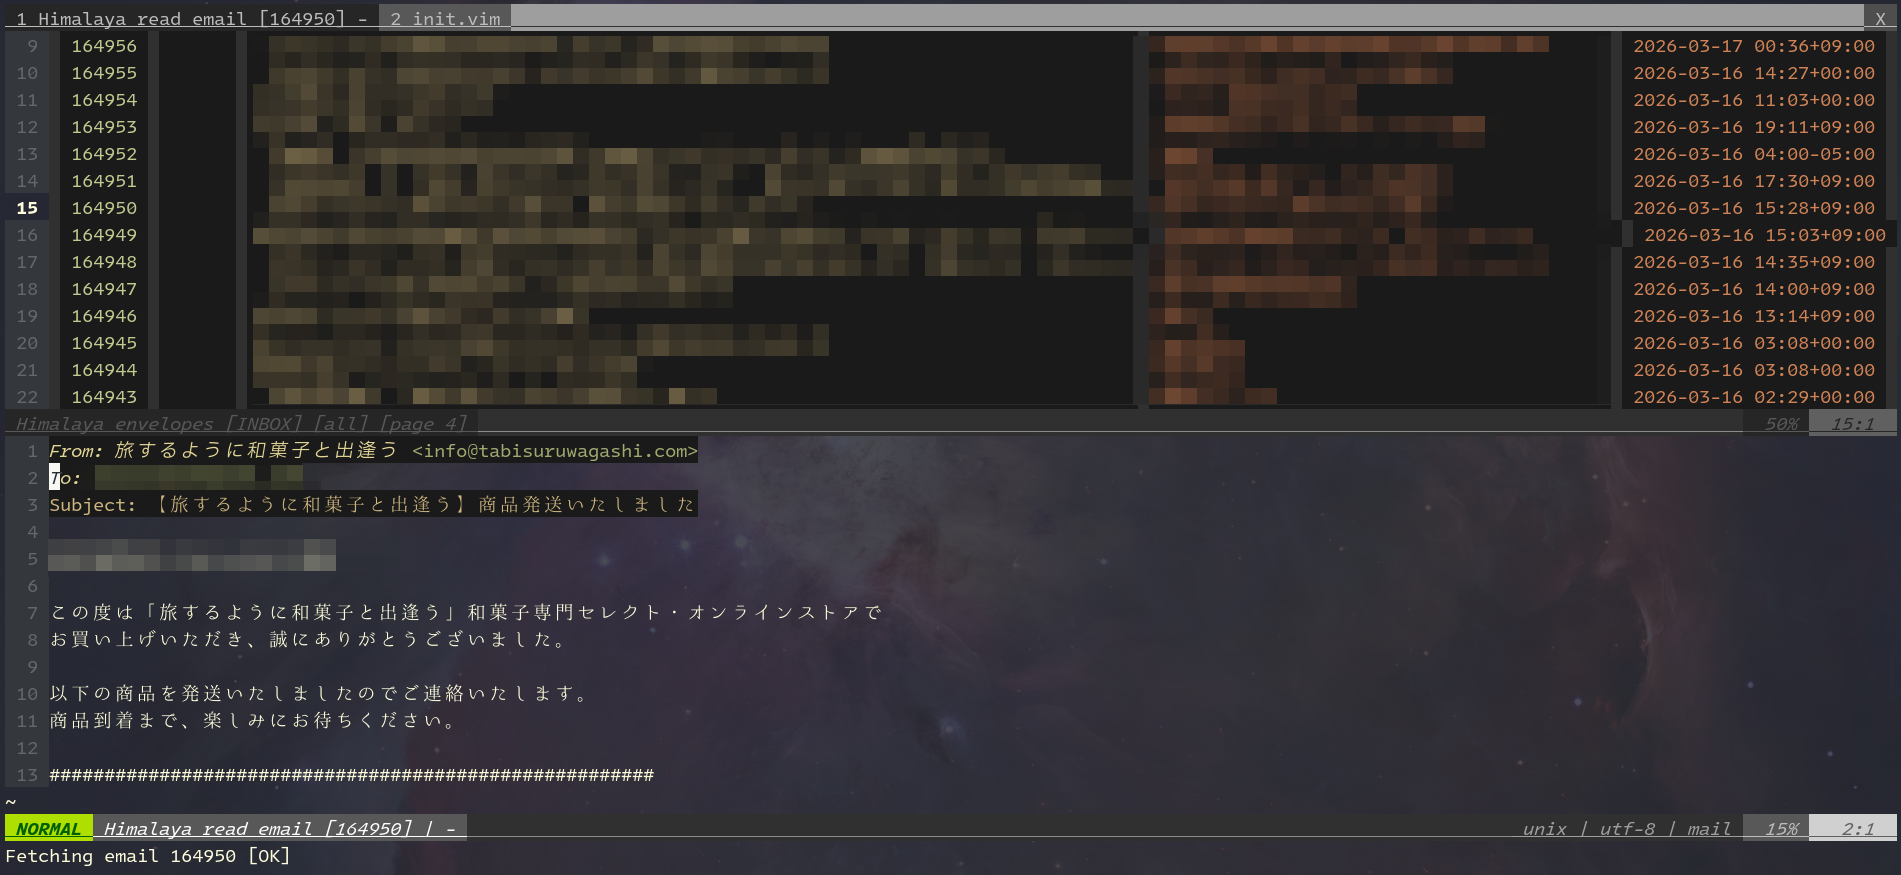
himalaya folder list でフォルダ一覧、himalaya envelope list でエンベロープ一覧、himalaya message read -f INBOX <ID> でメール本文も読めることを確認した。
エラー6:nvimプラグインからメール送信時にSMTP認証エラー
pimalaya/himalaya-vimプラグインからメールを送信しようとすると、以下のエラーが出た。
Sending email…
Error:
   0: cannot connect to smtp server using tls
   1: Authentication failed: Code: 535, Enhanced code: 5.7.8, Message: Username and Password not accepted.
      For more information, go to https://support.google.com/mail/?p=BadCredentials
nvim側には E605: Exception not caught: CLI error, see :messages for more information と表示される。
libsecret-tools がインストールされていないとキーリングへのアクセスが正常に動作しない場合があるため、インストールする。
sudo apt install libsecret-tools
インストール後、himalaya account configure を再実行してIMAP・SMTP両方のOAuth2認可フローを完了させることで解消された。
エラー7:himalaya.vimでの本文の書き始め位置
今度こそ送信に成功すると思ったら、今度は別のエラーが出た。
Error:
   0: cannot parse MML message: empty body
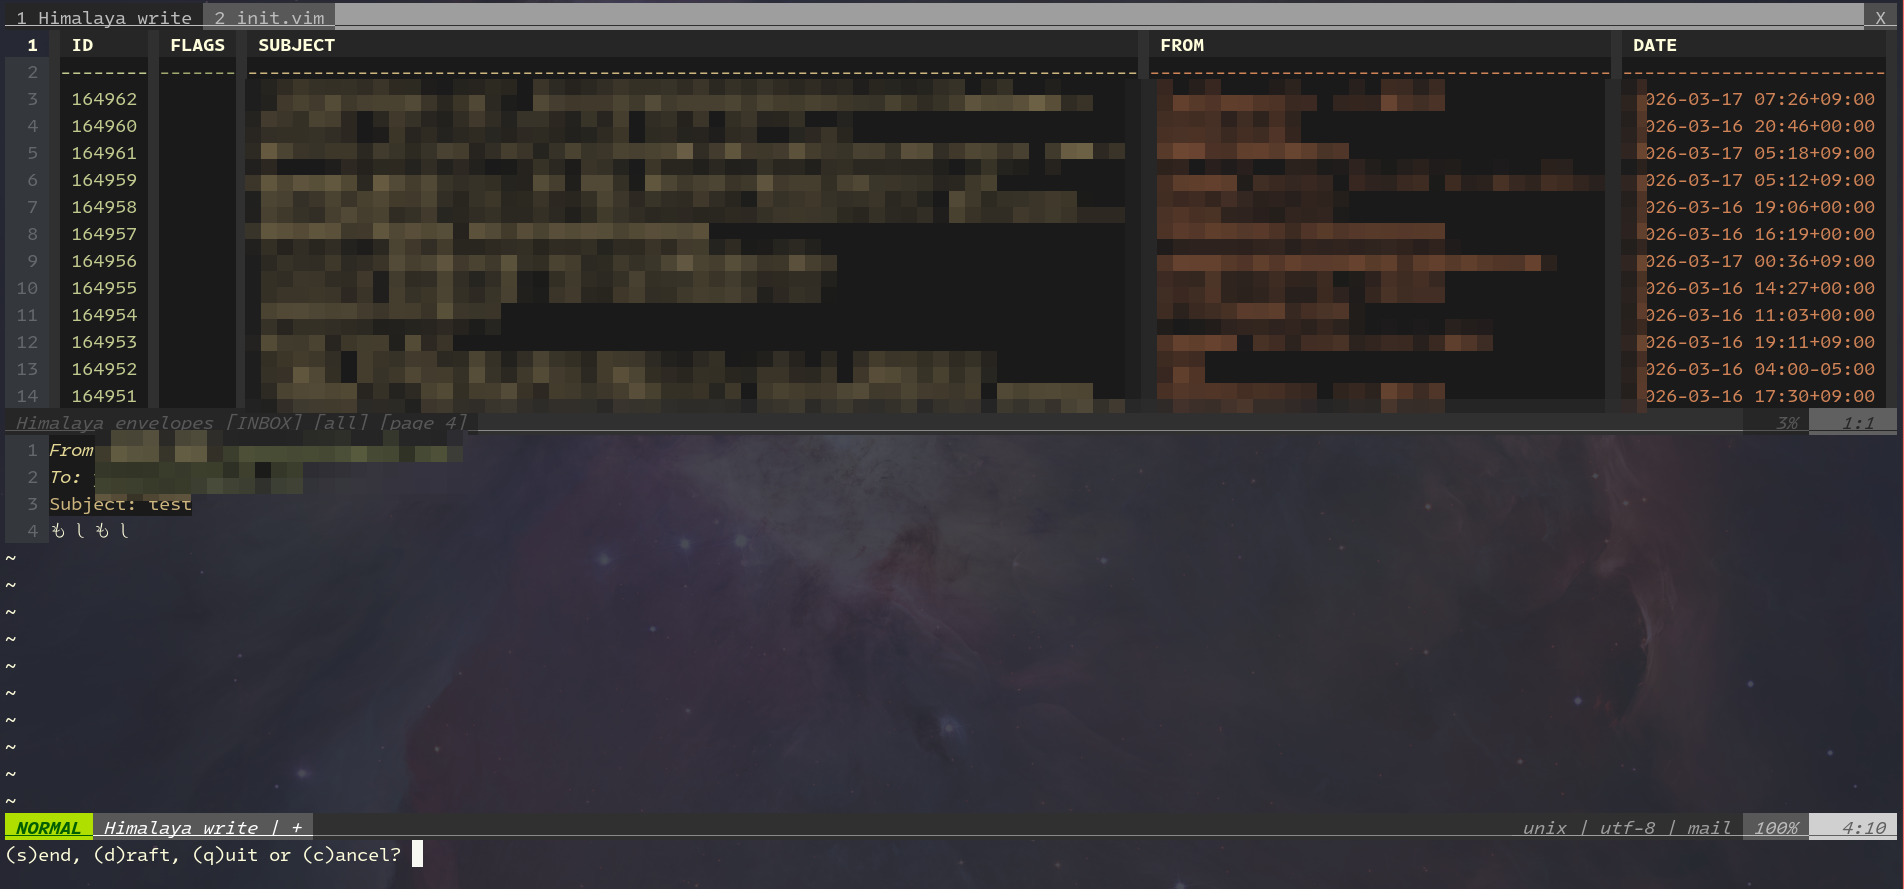
新規メール作成時のテンプレートはヘッダー4行(From/To/Subject/空行)で構成されており、5行目から本文を書き始める必要がある。タイトル直下に本文を書いても空と判定されてしまう。
From: example@gmail.com
To: 宛先@example.com
Subject: テスト
                        ← この空行も含めてヘッダー
ここから本文(5行目)
以上。